I’d like to pass along this information to anyone who may be interested in re-finishing their own door panels. When I purchased my 1971 GS350 in April 2002, it came with a complete, new in the box, Year One Interior set. I took the seats out and dropped them off at the local upholstery shop along with the Year One covers, and let the pros handle them, although afterwards, I was told by a friend of mine that it wasn’t that difficult. They did a great job! My next step was to start the rear door panels and well covers. (It’s a convertible) The wells were fairly simple, as the Year One covers were an exact fit. The door panels however were a different story. I did them, but after being shown by a local expert interior man, I did them wrong. I’d like to share what he showed me with all of you. Hope it helps!!
The first step, obviously, is to remove your door panel from the door. I trust you all know how to do that!
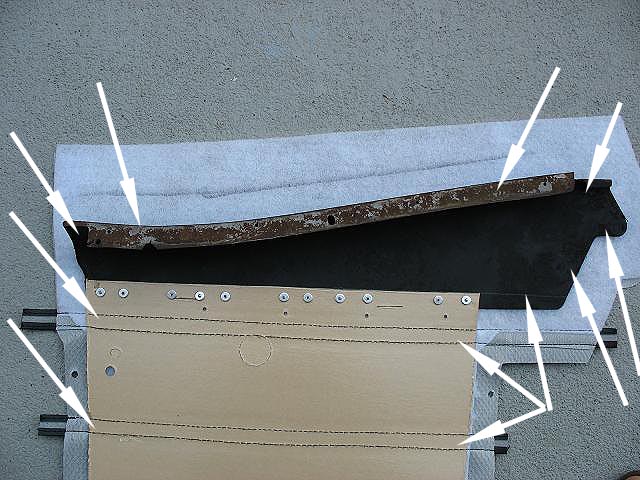
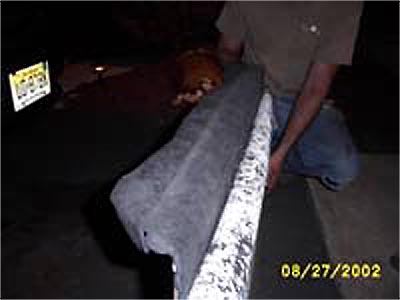
Once the panel is off, remove the old window felt by prying the staples out of the metal strip attached to the panel. Do this carefully if you intend to re-use them. I had new ones, and they screwed back on.
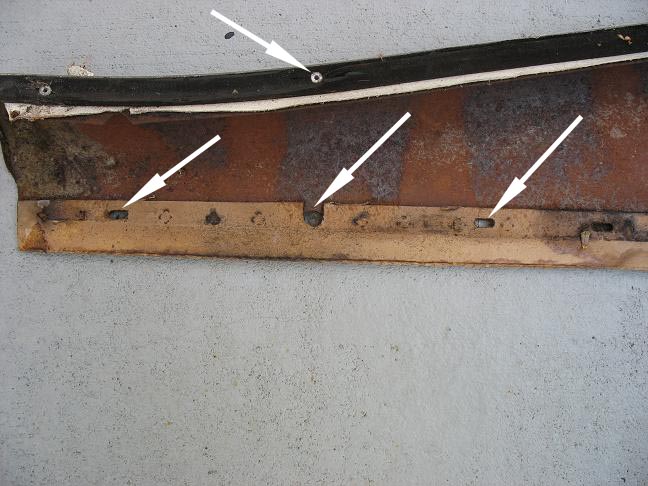
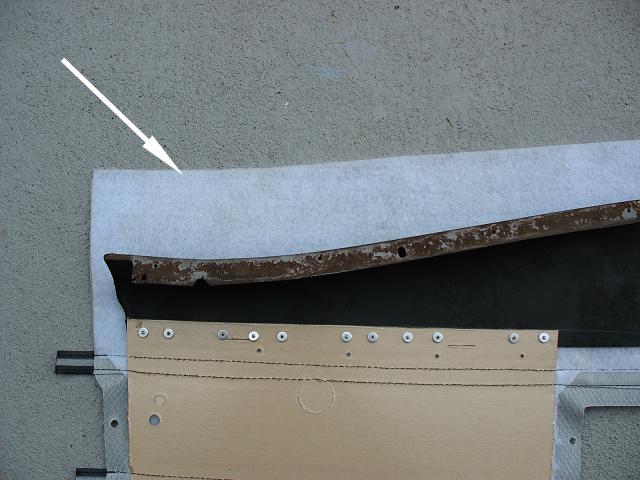
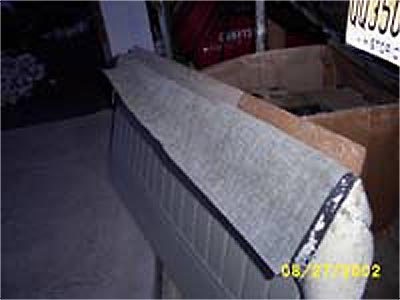
The next step is to remove the metal strip along the top of the old panel. You need this for the new one. Here is a pic of the underside.
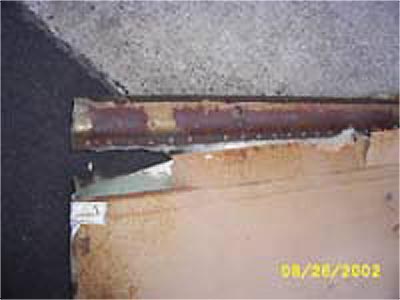
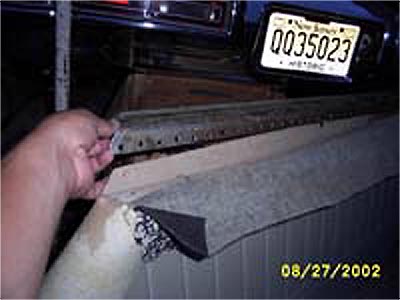
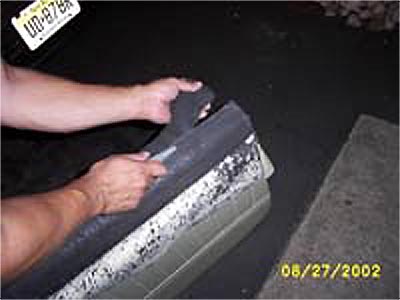
To remove the metal strip, just pry up on the cardboard backing of the door panel. And it should easily come off.
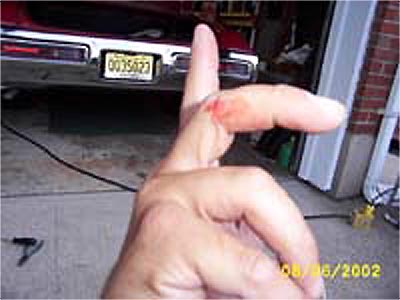
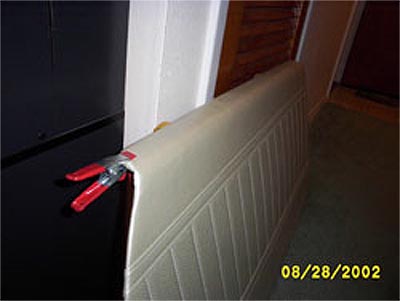
Be very careful while holding on to the strip, as you can see by this picture, the metal is VERY sharp!!
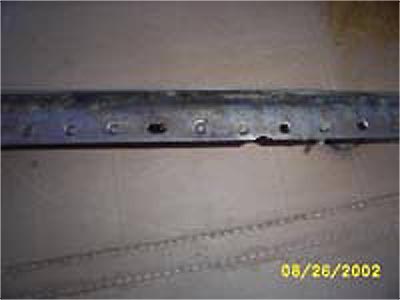
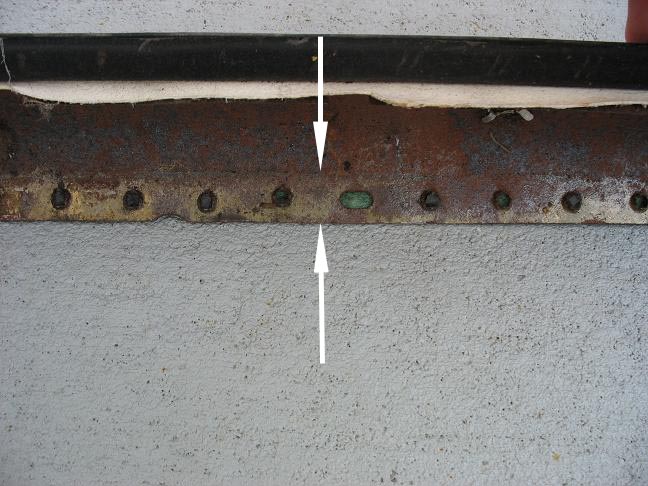
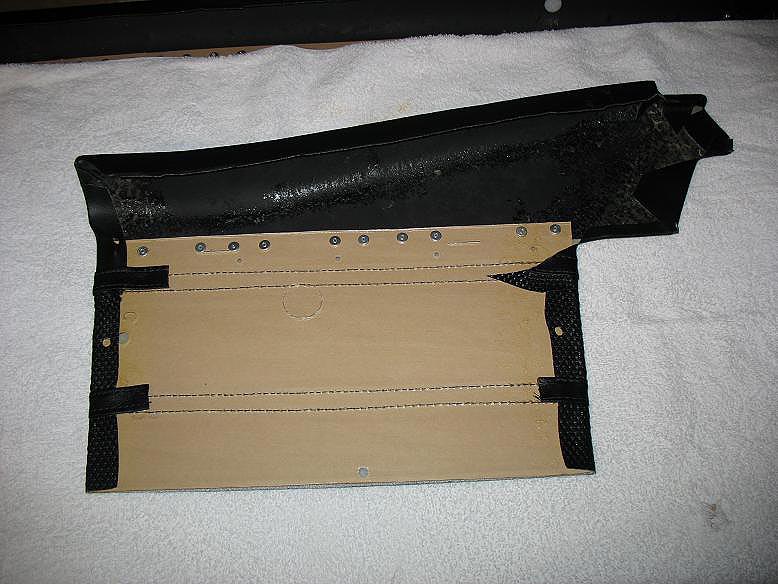
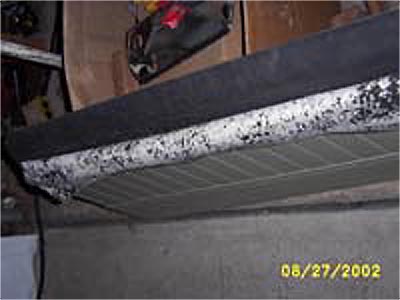
Once you remove the strip, it should be cleaned of any residual glue or old padding material with a wire wheel, or similar method. Also be sure to remove any pieces of cardboard from the square holes, so you can “re-punch” the strip into the new cardboard.
I was told by Chuck, the interior man, that Year One should not have glued the foam under padding to the outer vinyl. My next step was to steam off the foam with a steam gun. I rented a wallpaper steamer from Home Depot to do the job.
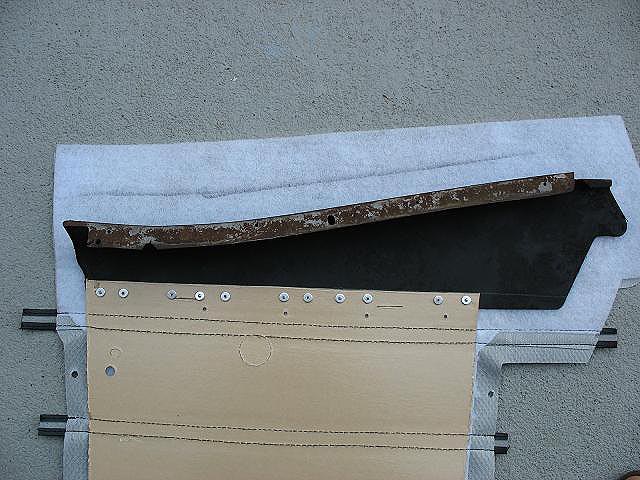
Here is a pic of the new door panel after peeling back the foam to expose the cardboard.
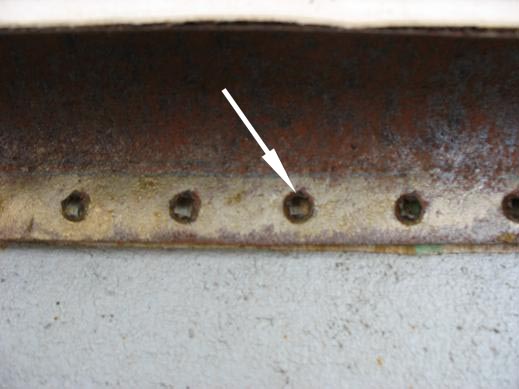
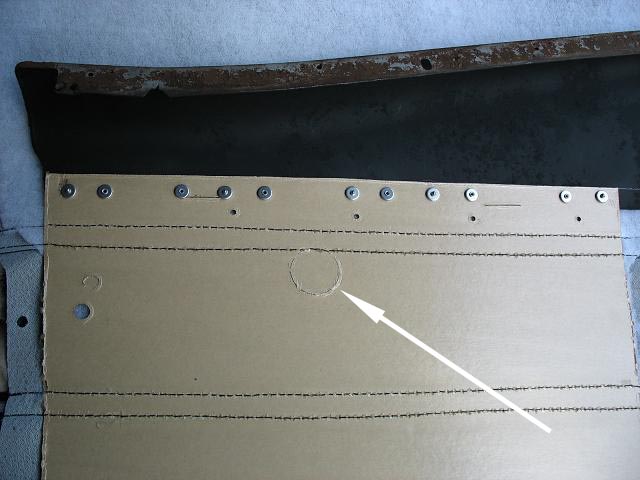
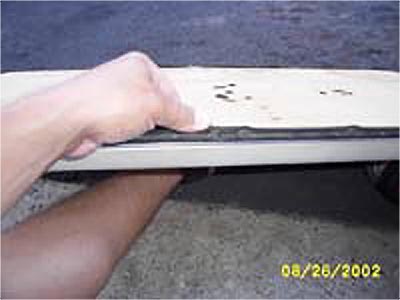
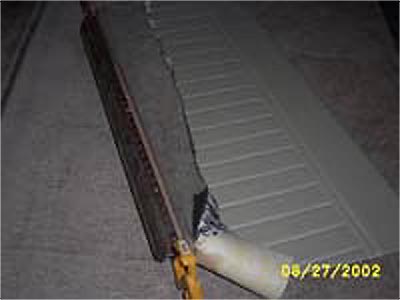
The next step is to install the old metal strip to the new panel. There are template holes on the new panel to help ensure proper alignment.

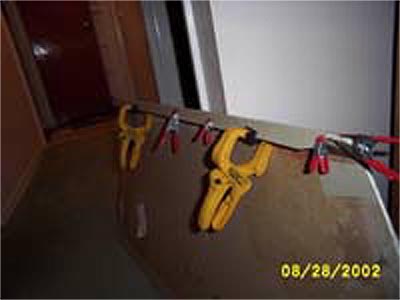
I used clamps to secure the metal to the panel after making sure it was properly aligned.
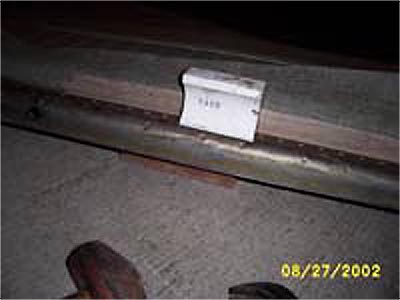
Next, lay the panel on a flat surface. Position a 2x4 underneath the bottom edge of the panel, and a brick or other solid object under the metal strip, making sure it aligns with the holes on the top.
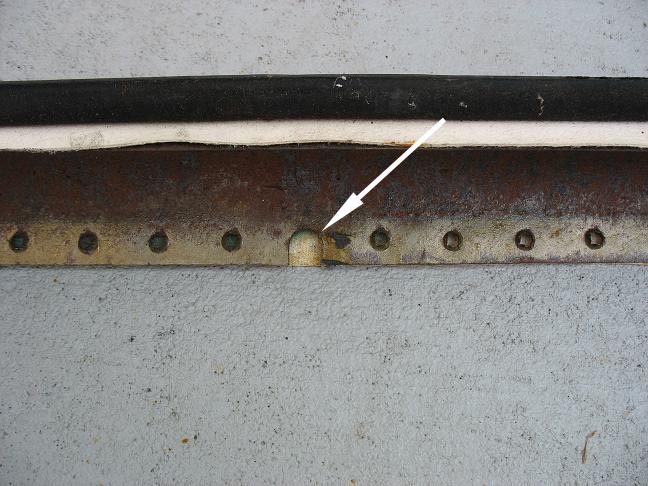
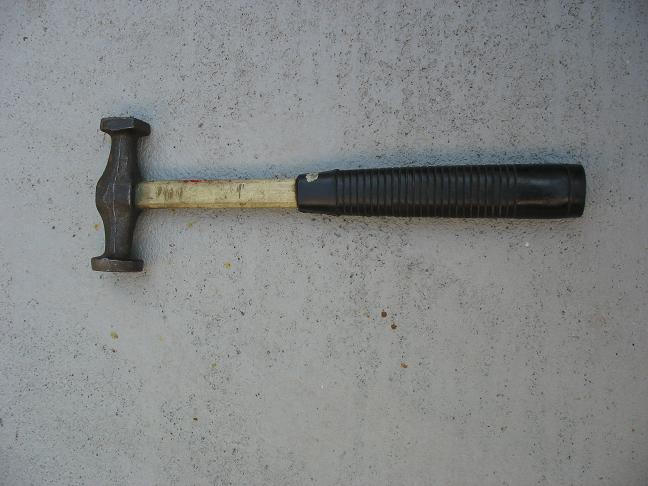
Now we’re ready to “re-punch” the holes. I used an old magnet from a motor as punching device, but any solid steel or metal object will do. Make sure it’s at least 4-5 inches long so you don’t deform the metal strip. I used a brick underneath to make sure the cardboard was supported.
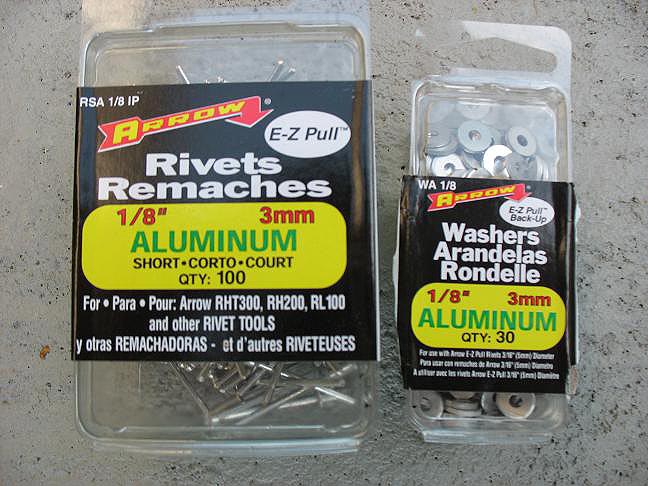
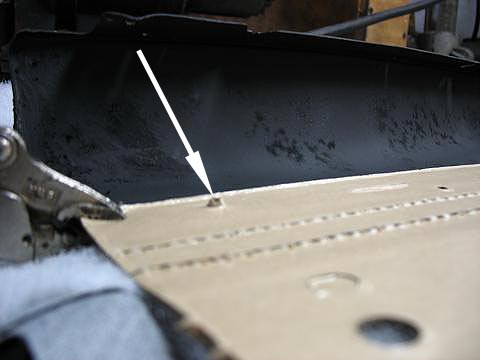
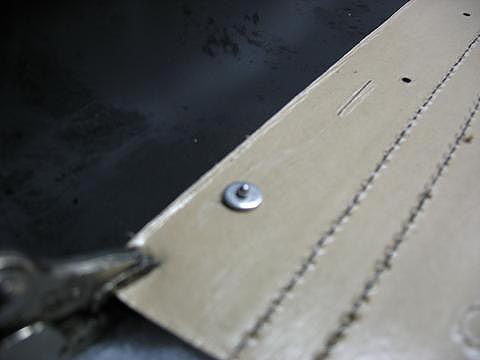
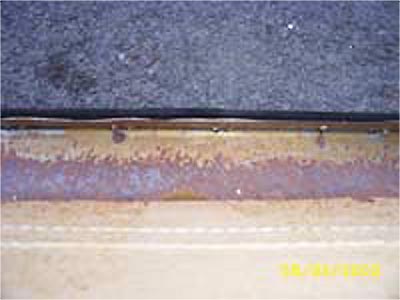
Using a 5lb hand sledge, starting from the center, strike the metal object, effectively pressing the metal strip into the new cardboard panel. Move along to the edges only after verifying alignment. After pressing the metal into the cardboard, I drilled 3 holes, one on each end, and one in the center, and riveted the panel using a washer on the backside, for added strength.
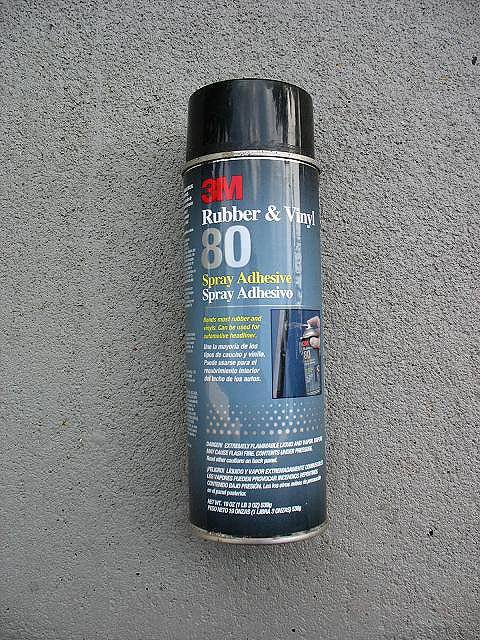
Now we’re ready to glue the foam padding to the metal strip. I used a spray adhesive from 3M, and it worked very well. Spray the metal strip, and allow glue to dry for a few minutes or until tacky to the touch. Pull the foam padding over the metal strip, and stretch it so there are no lumps in it.
Once the glue dries, trim off the excess foam with a utility knife.
Here is a pic of the panel ready for the gluing of the vinyl.
The last step is to spray your glue onto the backside of the metal strip, NOT THE FOAM!! The vinyl should stretch over the foam, eliminating any wrinkles or lumps. This step is kind of tricky. I stretched the vinyl over before gluing, and carefully trimmed the vinyl on the back of the panel so it would not overlap itself. Once you get to this point, you’ll see what I mean. You don’t want 3 layers of vinyl or your panel won’t fit flush on the door. Let the glue get real tacky, and once you stretch the vinyl and press it to the underside of the strip, it tends to slip back. I kept applying pressure to the vinyl as it was drying to make sure it was nice & tight. I also used clamps to hold it overnight.
That’s the hard part!!! Now all you have to do is install your window felts, cut out your holes for the armrest screws, and window & door handles, and re-install the panel!! My holes were pre-cut; I just had to knock them out. Be careful cutting the vinyl. Always cut an X in the vinyl, not the circle, just in case you make a mistake. It’ll be much easier to hide if the vinyl is still there. Good Luck, and I hope this helps!! If you have any questions, e-mail me at djfc@optonline.net