How to Install 1970-2 Stainless Trunk Trim
by George Nenadovich
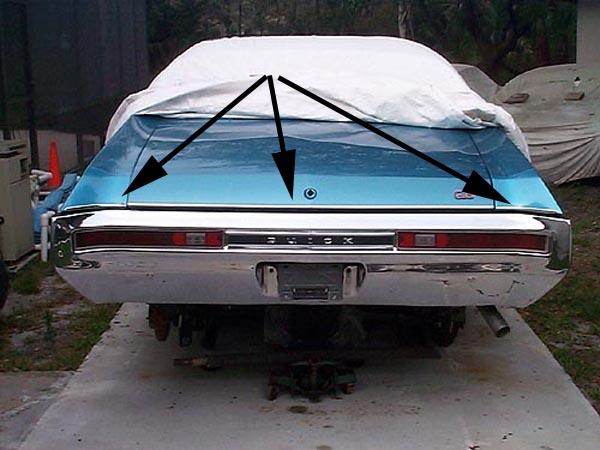 Here is the completed installation of the trunk trim option.
There are three pieces indicated by the arrows. The one on the trunk lid
is stainless steel and is held to the lid by 6 special clips and 6 small
Phillips head screws. The two end pieces are chrome plated pot metal and
are now available as reproductions from Postons
and The Parts Place They cost about
$40 each.
Here is the completed installation of the trunk trim option.
There are three pieces indicated by the arrows. The one on the trunk lid
is stainless steel and is held to the lid by 6 special clips and 6 small
Phillips head screws. The two end pieces are chrome plated pot metal and
are now available as reproductions from Postons
and The Parts Place They cost about
$40 each.
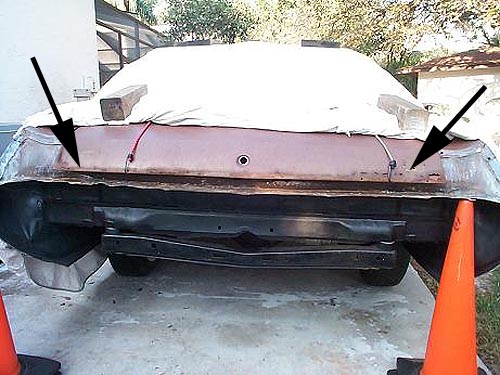 Here is another GS with the factory trunk trim option. It
is removed from this car due to corrosion! Arrows indicate original location.
Here is another GS with the factory trunk trim option. It
is removed from this car due to corrosion! Arrows indicate original location.
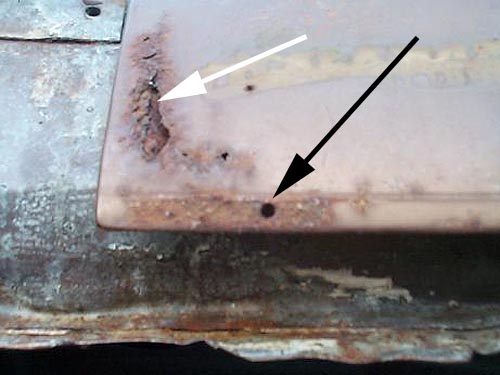 White arrow indicates non-factory rust option. This trunk
lid was completely rusted thru in several places and will be replaced. Thankfully
(thanks GM) the decklid on the 70-2 Skylark models is the same as ones on
the 68-72 Chevelle and 70-2 Monte Carlo. If your trunk lid is rusted, you
can get new ones for $190 from any Chevelle vendor such as National
Parts Depot Black arrow shows factory screw hole location. There are
six holes in the lid. Starting from left to right, first hole is 2 3/8,
next is 10 7/8 and last one is 21". To locate the right side holes,
repeat process and measure from right to left using the same dimensions.
All holes are centered about 5/16" from the bottom edge of trunk lid.
Use a center punch to locate each hole and then drill through using a 15/64"
drill bit.
White arrow indicates non-factory rust option. This trunk
lid was completely rusted thru in several places and will be replaced. Thankfully
(thanks GM) the decklid on the 70-2 Skylark models is the same as ones on
the 68-72 Chevelle and 70-2 Monte Carlo. If your trunk lid is rusted, you
can get new ones for $190 from any Chevelle vendor such as National
Parts Depot Black arrow shows factory screw hole location. There are
six holes in the lid. Starting from left to right, first hole is 2 3/8,
next is 10 7/8 and last one is 21". To locate the right side holes,
repeat process and measure from right to left using the same dimensions.
All holes are centered about 5/16" from the bottom edge of trunk lid.
Use a center punch to locate each hole and then drill through using a 15/64"
drill bit.
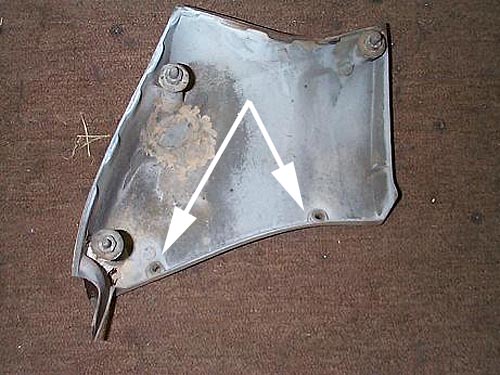
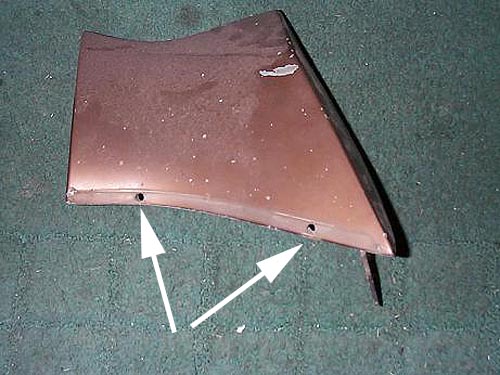
 Factory trunk trim and non-trunk trim Skylarks use the same
quarter panel end caps. All you need to do is center a hole in each boss
and drill the hole as noted above. Arrows indicate the factory acorn nuts
that hold the trim in place. They are hex head, 3/8" socket required.
Factory trunk trim and non-trunk trim Skylarks use the same
quarter panel end caps. All you need to do is center a hole in each boss
and drill the hole as noted above. Arrows indicate the factory acorn nuts
that hold the trim in place. They are hex head, 3/8" socket required.
 Acorn nuts removed. White arrows indicate factory cast bosses
for trunk trim option.
Acorn nuts removed. White arrows indicate factory cast bosses
for trunk trim option.
 Opposite side revealing holes to be drilled to mount trunk
trim. Use 15/64" drill bit.
Since the trunk trim piece is not being reproduced, you will
have to find a nice original to install. To clean them, use 0000 steel wool
to remove stains, old wax, discoloration.
Opposite side revealing holes to be drilled to mount trunk
trim. Use 15/64" drill bit.
Since the trunk trim piece is not being reproduced, you will
have to find a nice original to install. To clean them, use 0000 steel wool
to remove stains, old wax, discoloration.