How to Install a Headliner
by George Nenadovich
 This is the spray glue I use to install the headliner. You
can find this at most home improvement stores....one can is sufficient.
You can also use the product for interior panels.
This is the spray glue I use to install the headliner. You
can find this at most home improvement stores....one can is sufficient.
You can also use the product for interior panels.
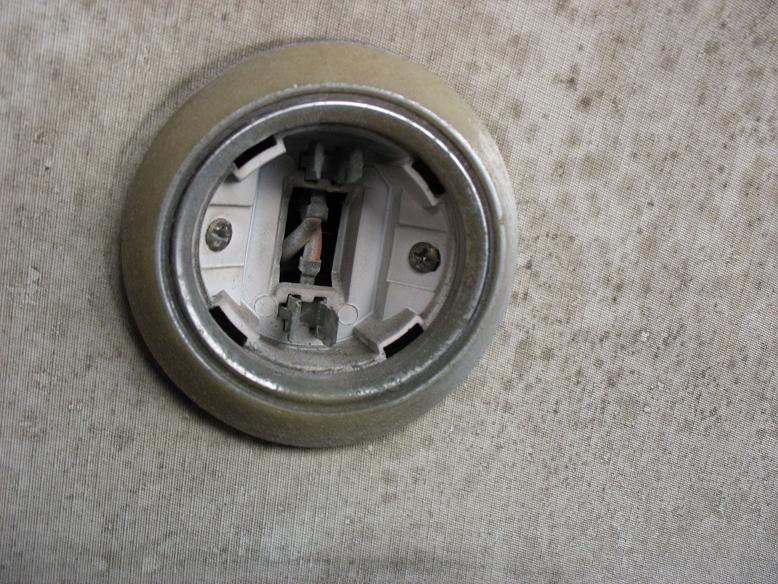 The sail panel lights will need to be removed in order to
recover the sail panel backerboard. The two Phillips head screws need to
be removed. While the housing is out, good time to have them rechromed...this
one is a 39+ year old original.
The sail panel lights will need to be removed in order to
recover the sail panel backerboard. The two Phillips head screws need to
be removed. While the housing is out, good time to have them rechromed...this
one is a 39+ year old original.
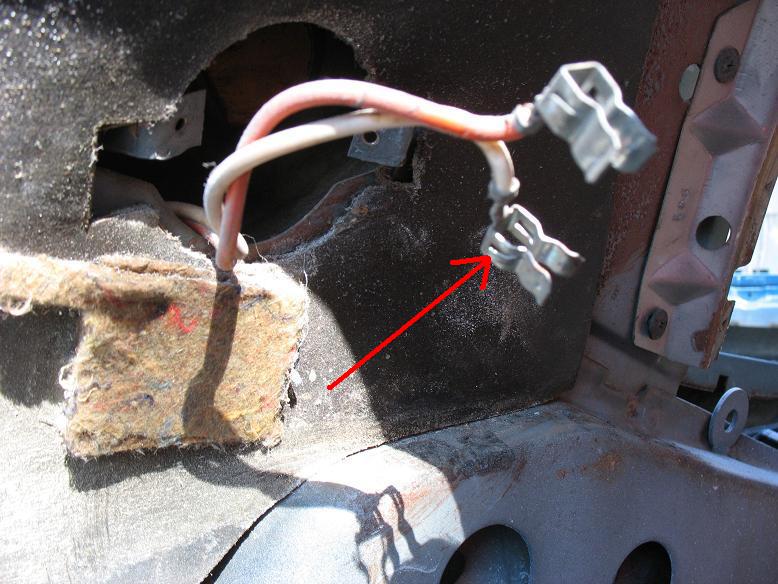 Once the screws are out, remove the light and then depress
the tangs indicated by the red arrow to remove the clips from the housing.
Once the screws are out, remove the light and then depress
the tangs indicated by the red arrow to remove the clips from the housing.
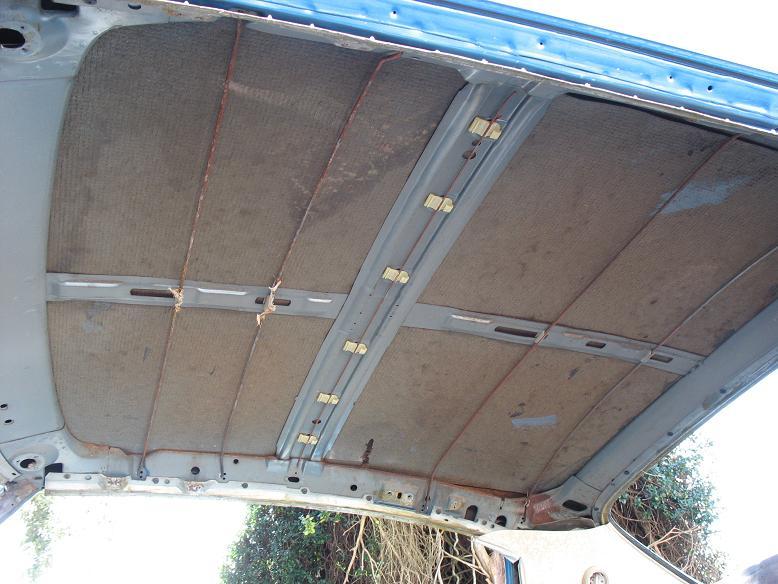 Here is a picture showing the old headliner removed. Everything
is in good condition...no broken clips, rusted away mounting rods or roof
rust.
Here is a picture showing the old headliner removed. Everything
is in good condition...no broken clips, rusted away mounting rods or roof
rust.
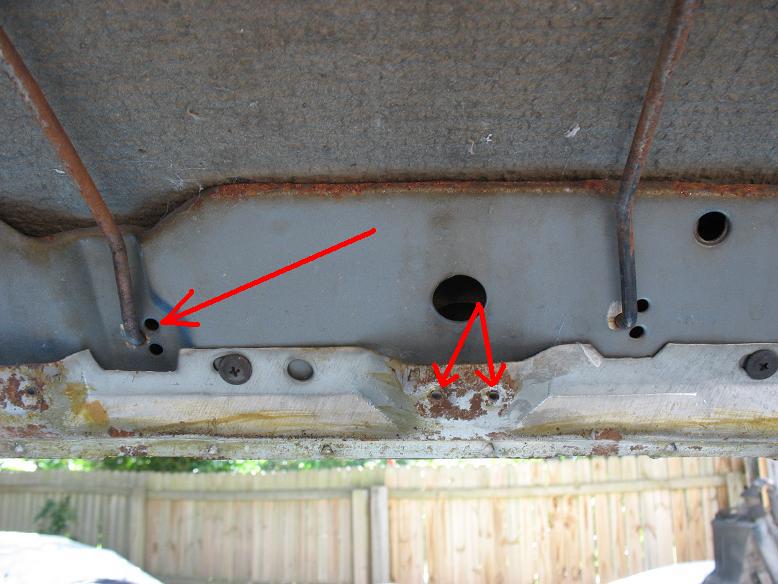 Notice there are three possible holes for each headliner
rod. Use a marker to indicate the correct mounting hole. Also, make a note
of the shoulder belt retaining clip holes. This will be important when you
reinstall the shoulder belt clips.
Notice there are three possible holes for each headliner
rod. Use a marker to indicate the correct mounting hole. Also, make a note
of the shoulder belt retaining clip holes. This will be important when you
reinstall the shoulder belt clips.
 Left red arrow shows shoulder belt anchor point while right
red arrow shows coat hook anchor point.
Left red arrow shows shoulder belt anchor point while right
red arrow shows coat hook anchor point.
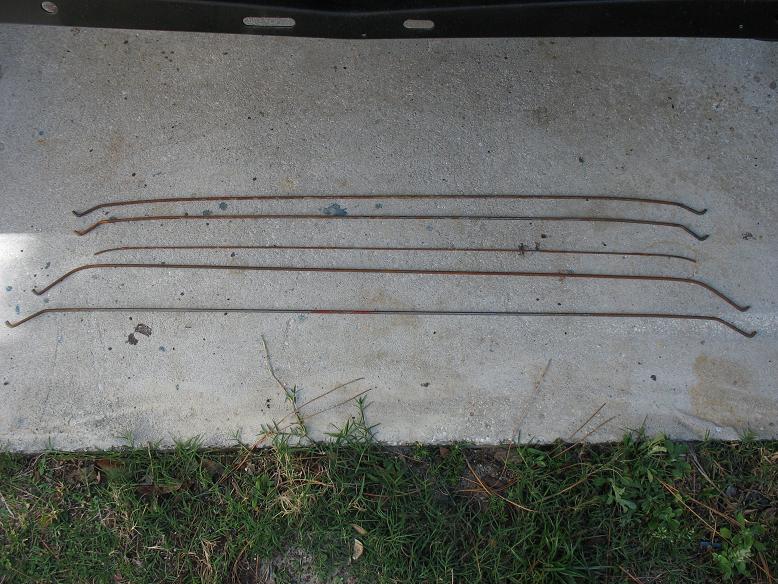 Here are the rods layed out in order from front to back.
I use scotch-brite or 120 grit sandpaper to clean them and then spray clear
coat on them.
Here are the rods layed out in order from front to back.
I use scotch-brite or 120 grit sandpaper to clean them and then spray clear
coat on them.
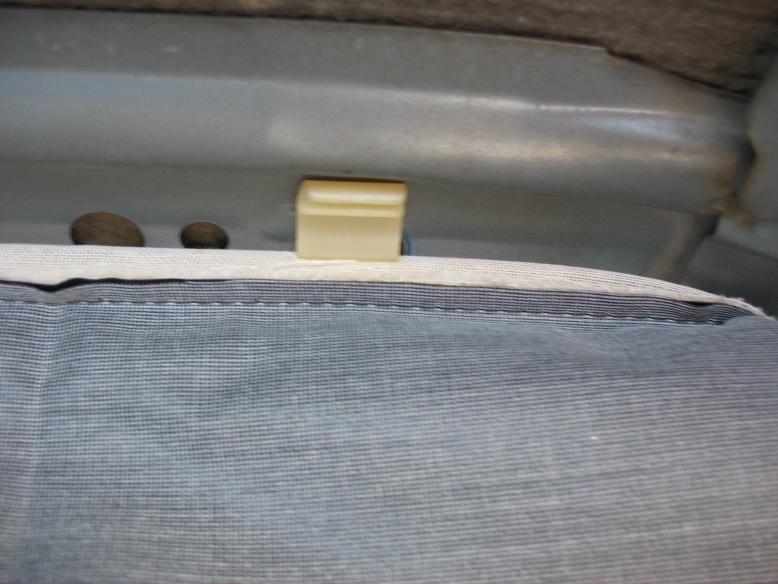
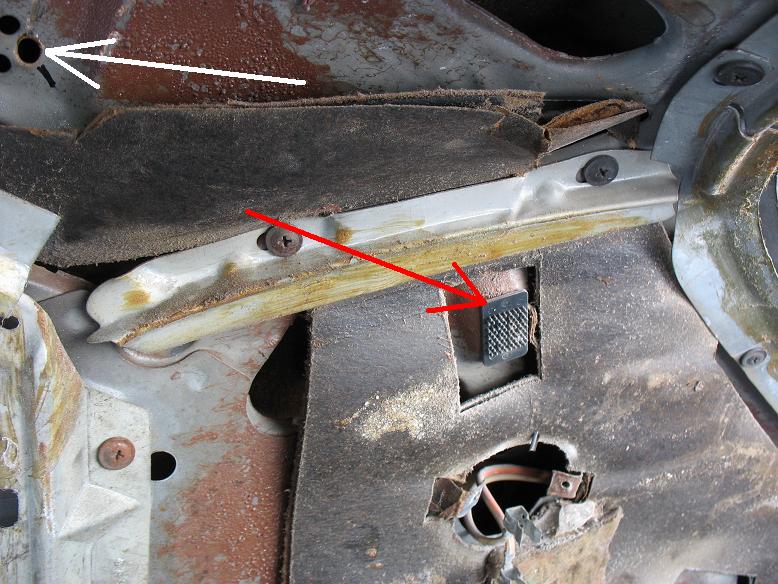 Upper white arrow shows marked hole for headliner rod...this
needs to be done for each rod on both sides of the car. Red arrow shows
factory interlocking retainer for sail panel. New sail panels do not come
with them so you need to transfer your original to the new sailpanel backer
if you are not reusing your originals.
Upper white arrow shows marked hole for headliner rod...this
needs to be done for each rod on both sides of the car. Red arrow shows
factory interlocking retainer for sail panel. New sail panels do not come
with them so you need to transfer your original to the new sailpanel backer
if you are not reusing your originals.
 Here is the new headliner kit......four pieces: headliner,
sail panel material and two sunvisor material panels. Notice wrinkles/folds
in the material...a steamer will be needed.
Here is the new headliner kit......four pieces: headliner,
sail panel material and two sunvisor material panels. Notice wrinkles/folds
in the material...a steamer will be needed.
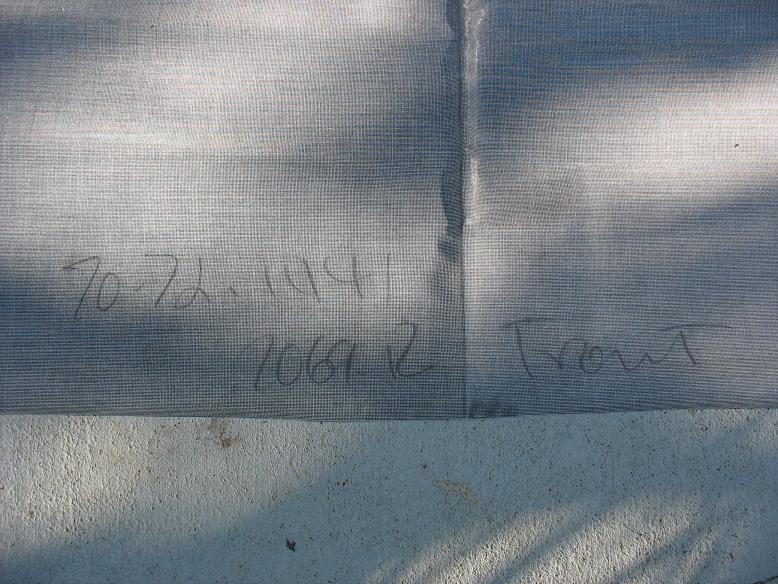 Backside of headliner is labeled front.
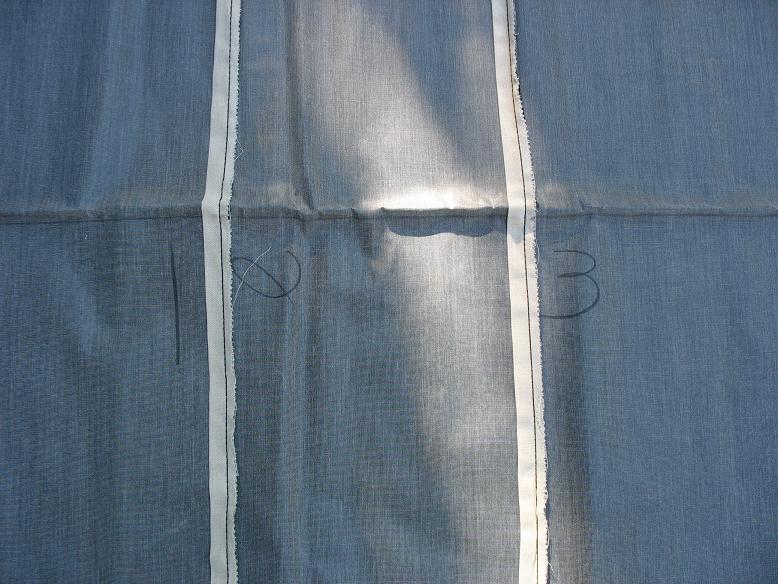
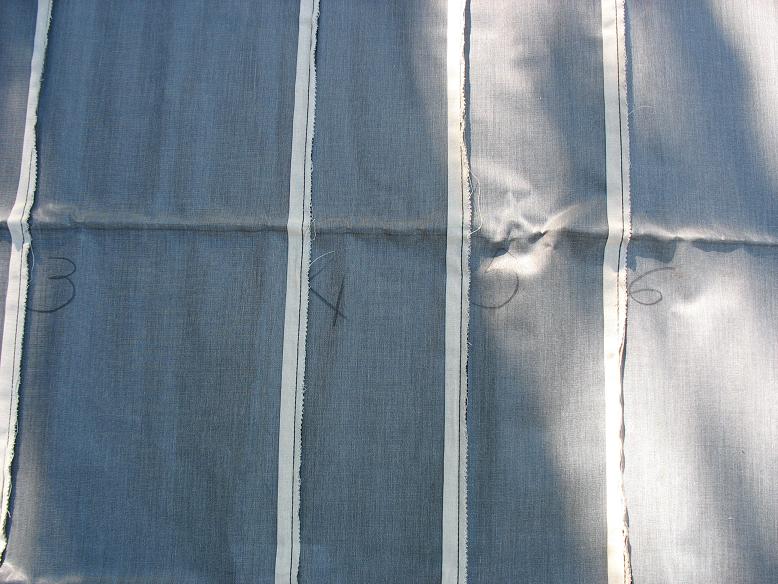 Headliner bow sleeves labeled from front to back as 1 through
6 with 6 being the one closest to the rear window.
Headliner bow sleeves labeled from front to back as 1 through
6 with 6 being the one closest to the rear window.
 Start at the center bow and snap the rod into to center bow
roof clips.
Start at the center bow and snap the rod into to center bow
roof clips.
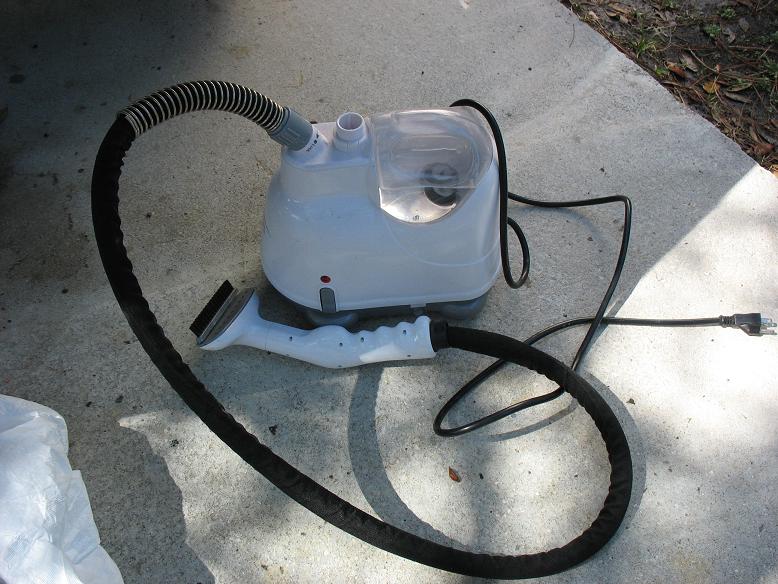 This is a portable clothes steamer which will iron out wrinkles/folds
as mentioned previously..you can find these at most department stores and
some home improvement stores.
This is a portable clothes steamer which will iron out wrinkles/folds
as mentioned previously..you can find these at most department stores and
some home improvement stores.
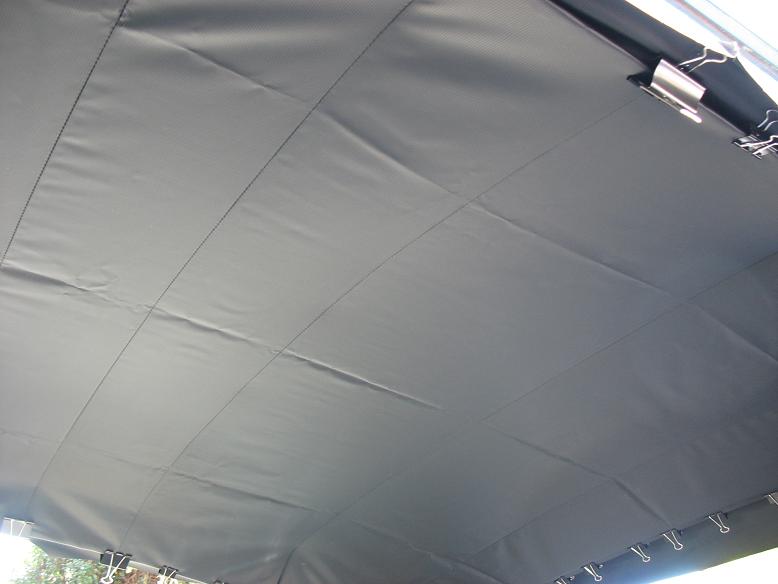 Headliner temporarily installed in the car...notice binder
clips to hold perimeter in place....notice folds/wrinkles which need to
be steamed.
Headliner temporarily installed in the car...notice binder
clips to hold perimeter in place....notice folds/wrinkles which need to
be steamed.
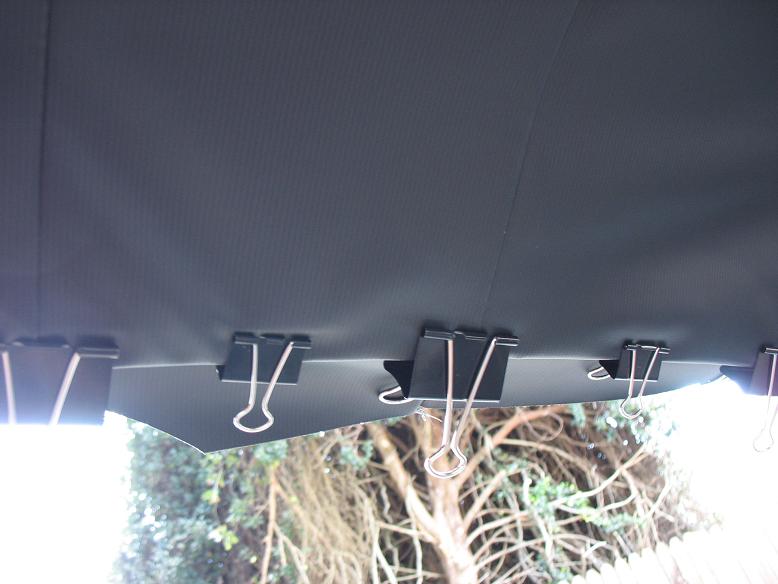 Place binder clips 3-4 inches apart.
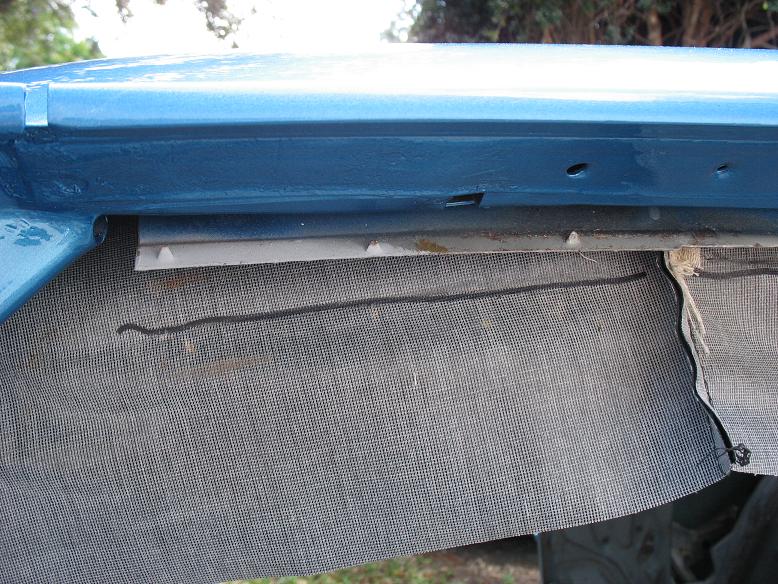 Use a marker to indicate where to spray glue. You want to
spray just above and below the black line...about one inch.
Use a marker to indicate where to spray glue. You want to
spray just above and below the black line...about one inch.
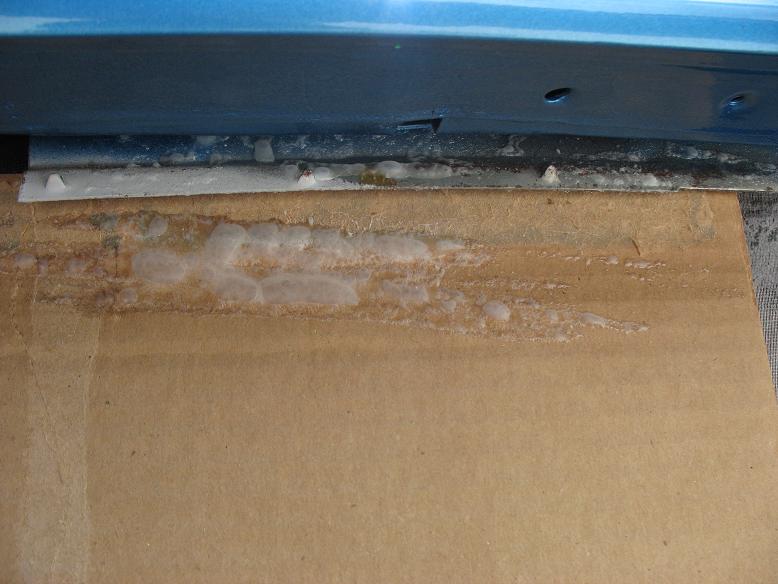 To prevent excessive glue on the headliner, use a piece of
cardboard to shield the headliner from the spray glue. If you have the front
and rear glass in place....you will need to use a brush to apply glue to
the back side of the metal glue strips.
To prevent excessive glue on the headliner, use a piece of
cardboard to shield the headliner from the spray glue. If you have the front
and rear glass in place....you will need to use a brush to apply glue to
the back side of the metal glue strips.
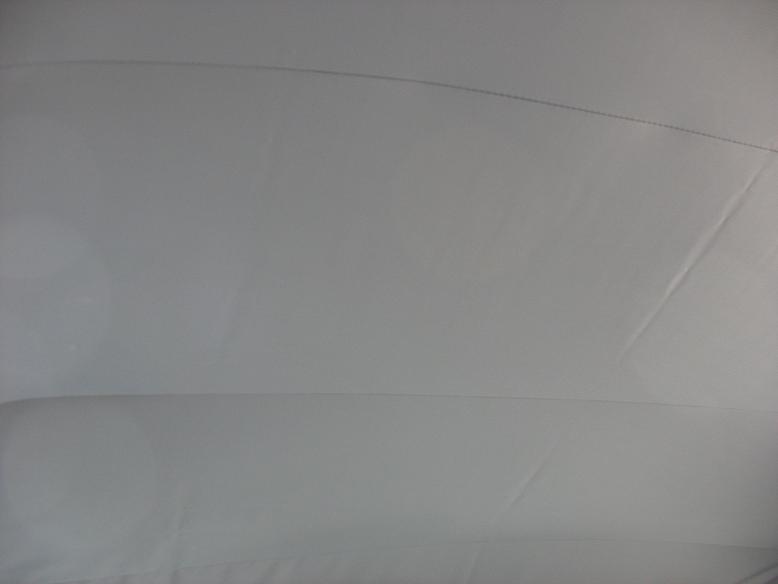 Here is the headliner with all edges glued in place and one
use of the steamer....the center fold will require one or two more passes
of the steamer to make it disappear.
Next, install your headliner windlace, shoulder belt w/clips,
coat hooks, rear view anchor base, sunvisor anchors and sail panels. When
installing the items that screw through the headliner...gently press the
headliner to the metal support and then "feel" for the holes.
Start the screws and tighten. The sunvisor anchors will need an "X"
cut in the headliner so they will sit flush with the metal supports.
Here is the headliner with all edges glued in place and one
use of the steamer....the center fold will require one or two more passes
of the steamer to make it disappear.
Next, install your headliner windlace, shoulder belt w/clips,
coat hooks, rear view anchor base, sunvisor anchors and sail panels. When
installing the items that screw through the headliner...gently press the
headliner to the metal support and then "feel" for the holes.
Start the screws and tighten. The sunvisor anchors will need an "X"
cut in the headliner so they will sit flush with the metal supports.