How To Modify a 1969 GS400 Fan Shroud To Fit a 1970 GS455
By Robert (Bert) Moses
To modify a fan shroud from a 1969GS400 and make it fit a
1970GS455 is very easy and the modifications only take a few minutes to
perform.
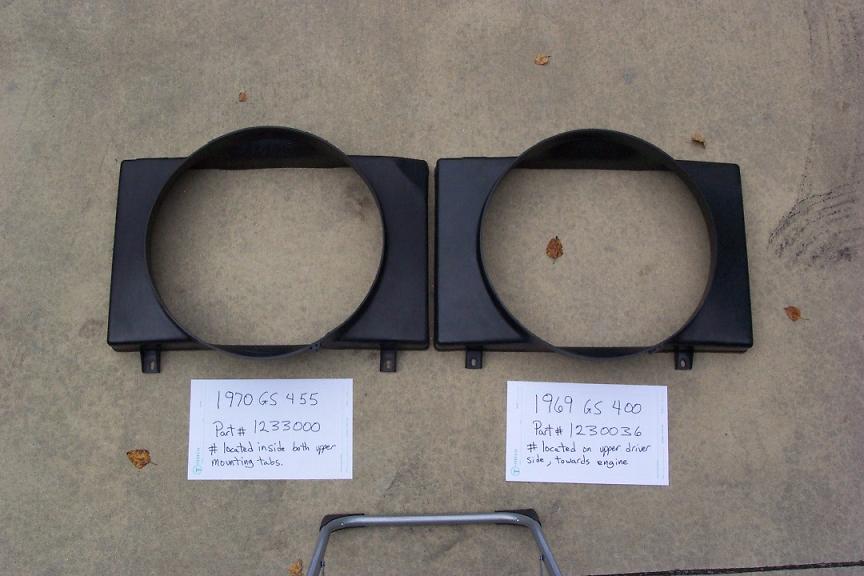
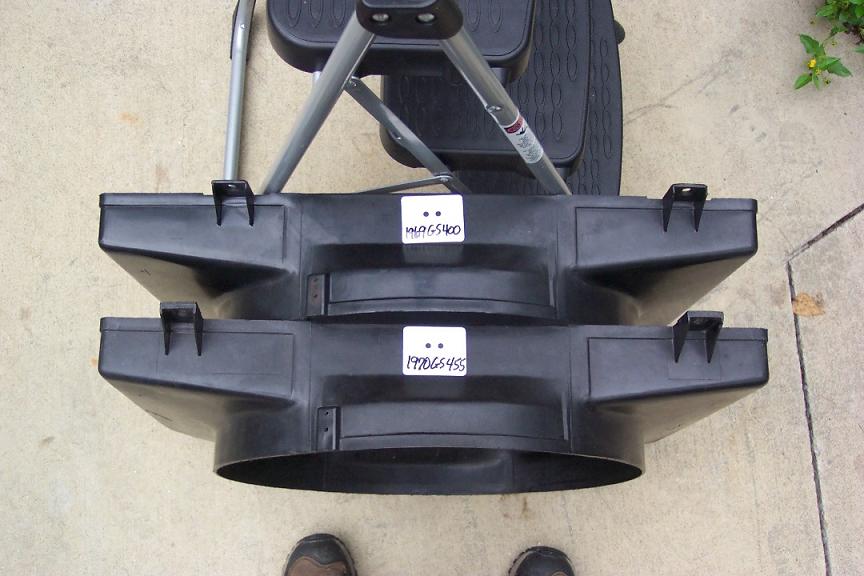
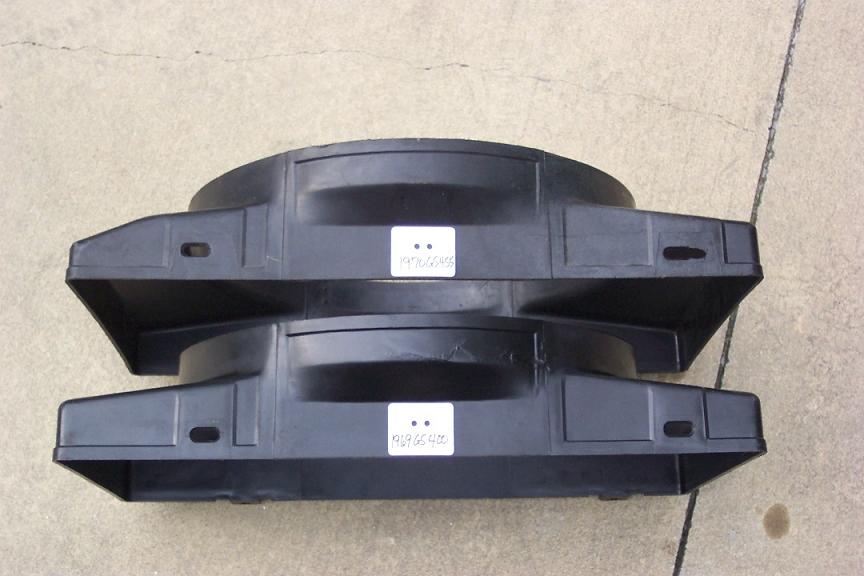
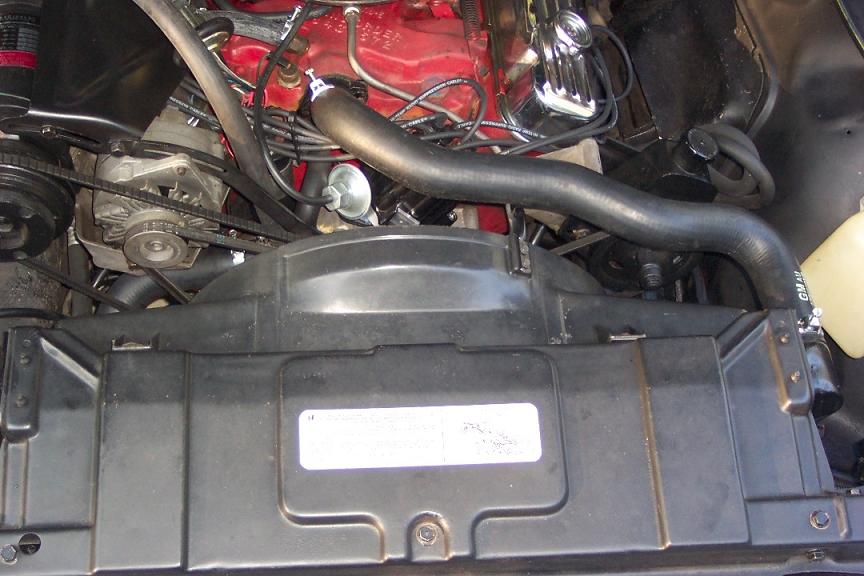
Here are some pictures that show the two fan shrouds side
by side so that you can compare them and get a good idea what exactly is
not the same on the shrouds so that you will be able to modify the 69GS400
shroud to fit your 1970GS455. Also notice that on the 70GS455 shroud the
lower corner of the shroud on the driver side is "bevelled", this
will not matter as far as fit or function but I wanted to point it out for
visual identification purposes
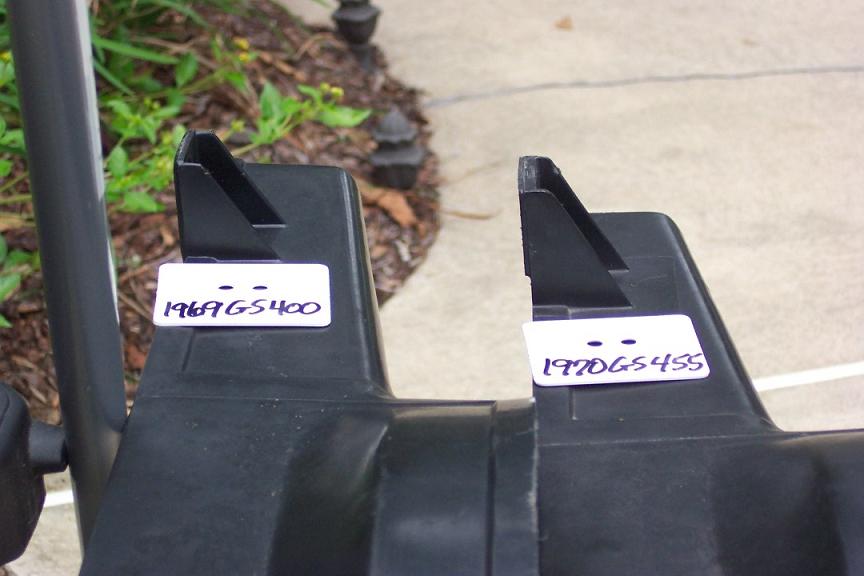
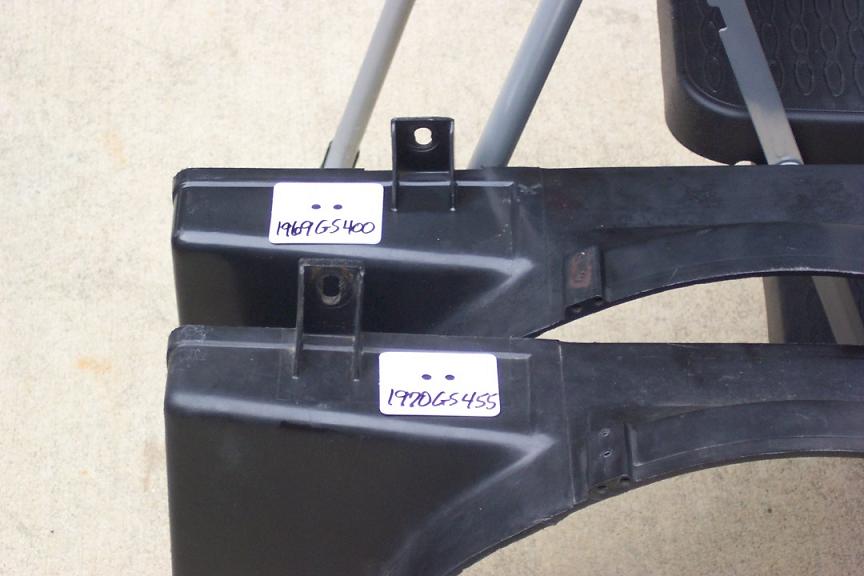
 The upper mounting tabs on the 1970GS455 are approx. 3/8"
longer and just a fuzz thicker than the upper mounting tabs on the 1969GS400
shroud.
The upper mounting tabs on the 1970GS455 are approx. 3/8"
longer and just a fuzz thicker than the upper mounting tabs on the 1969GS400
shroud.
Please note: the bolt hole on the upper mounting tabs for the 1970GS455
has a
longer(approx. 3/8" longer) slot than the bolt hole on the 1969GS400
shroud.
The result of these two differences allows the 1969GS400 shroud to attach
to the 1970GS455 radiator top plate using the same bolt hole(on the passenger
side) in the radiator top plate as the 1970GS455 shroud.
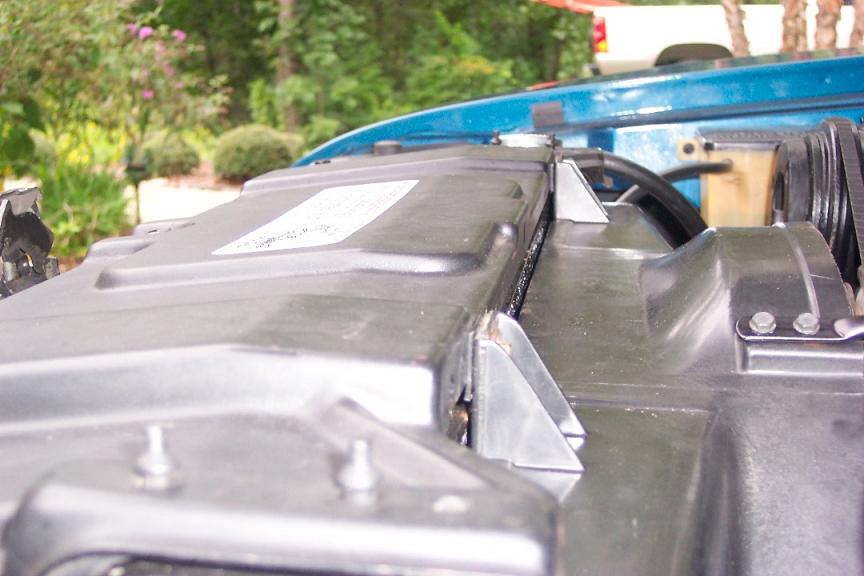
 As you can see in this next picture the upper mounting tab
on the passenger side is in the
As you can see in this next picture the upper mounting tab
on the passenger side is in the
same location for both shrouds.
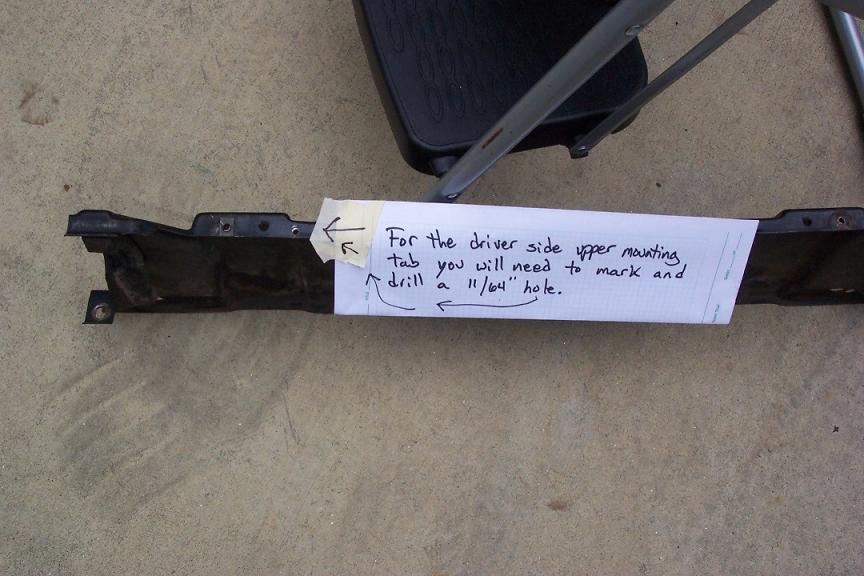
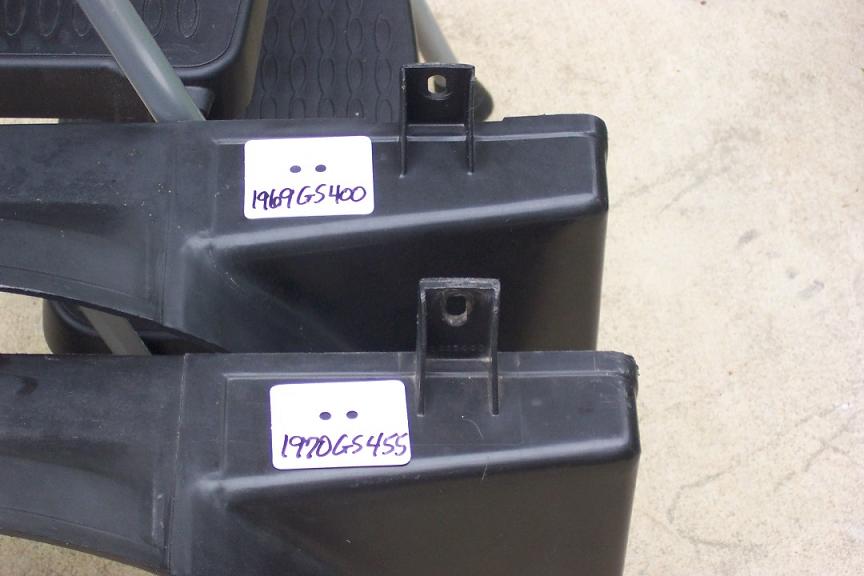 The upper mounting tab on the driver side is not the same
and will require you to drill a hole(11/64"), in your radiator top
plate to relocate the bolt that attaches the shroud to the radiator top
plate on the driver side. I also used some very thin black plastic to go
between the upper mounting tabs and the radiator top plate.
The upper mounting tab on the driver side is not the same
and will require you to drill a hole(11/64"), in your radiator top
plate to relocate the bolt that attaches the shroud to the radiator top
plate on the driver side. I also used some very thin black plastic to go
between the upper mounting tabs and the radiator top plate.
 Please note: the lower mounting slot on the passenger side
of the GS455 shroud had already been elongated, do not let this confuse
you.
Please note: the lower mounting slot on the passenger side
of the GS455 shroud had already been elongated, do not let this confuse
you.
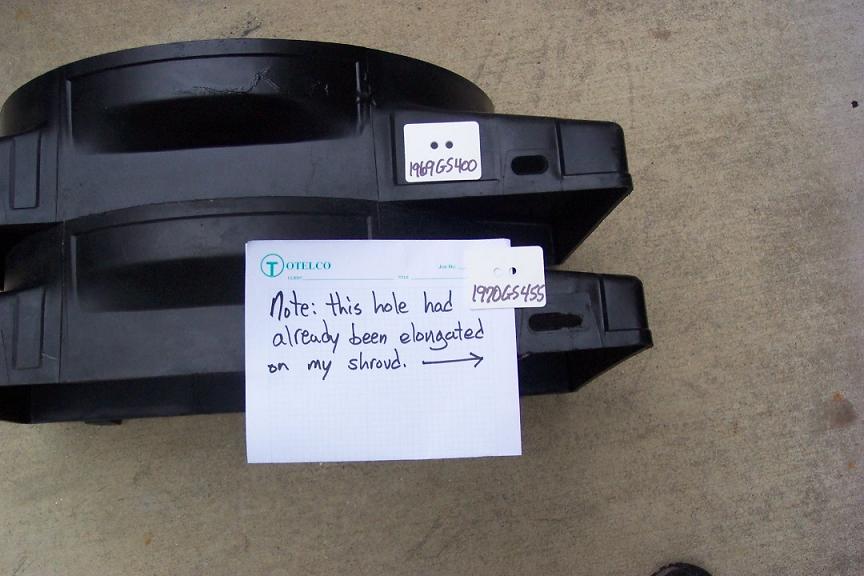
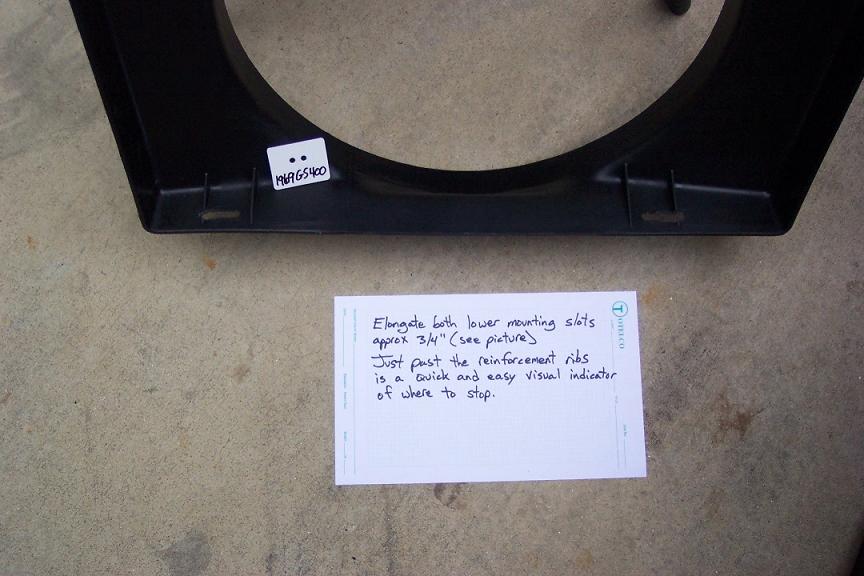
 The lower mounting slots will both need to be elongated approximately
3/4" outward. A very simple and quick visual indicator is to widen
the holes to just past the reinforcement ribs that are on the inside of
the shroud.
The lower mounting slots will both need to be elongated approximately
3/4" outward. A very simple and quick visual indicator is to widen
the holes to just past the reinforcement ribs that are on the inside of
the shroud.

Here are some pictures of the shroud after installation.
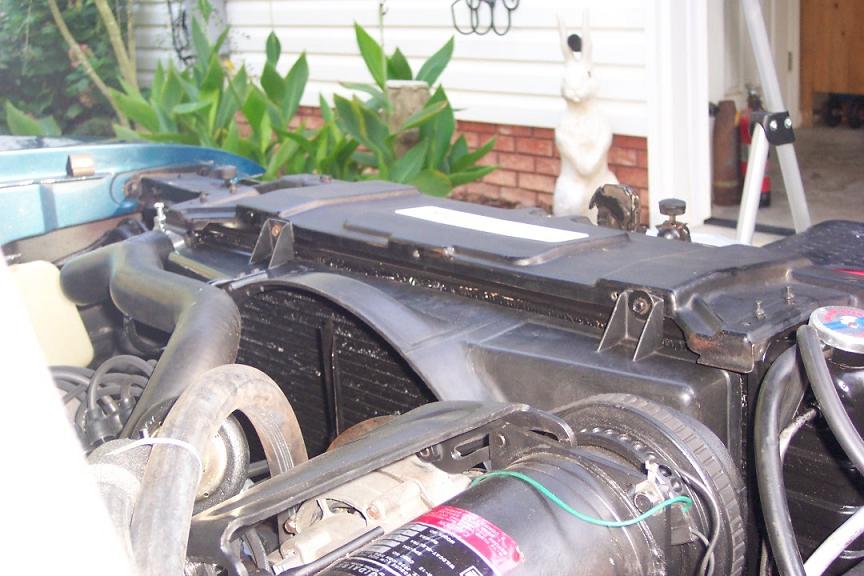
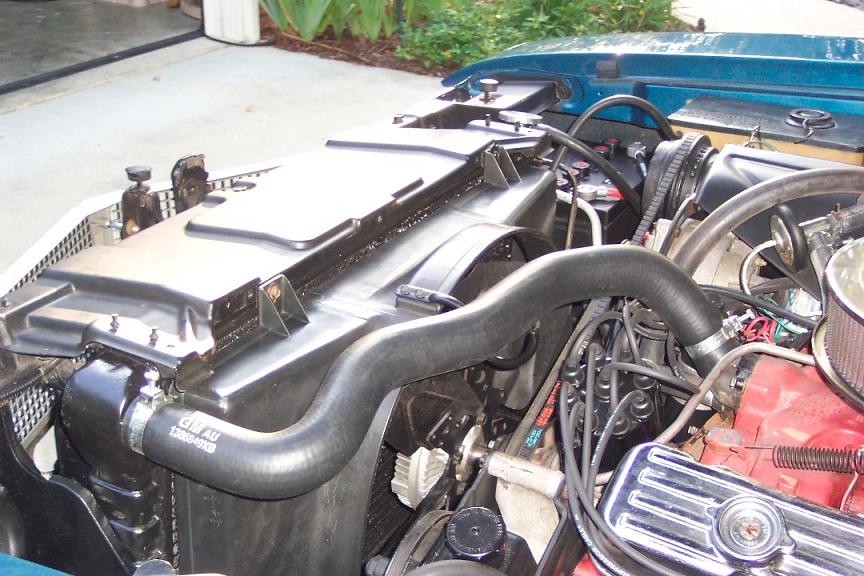
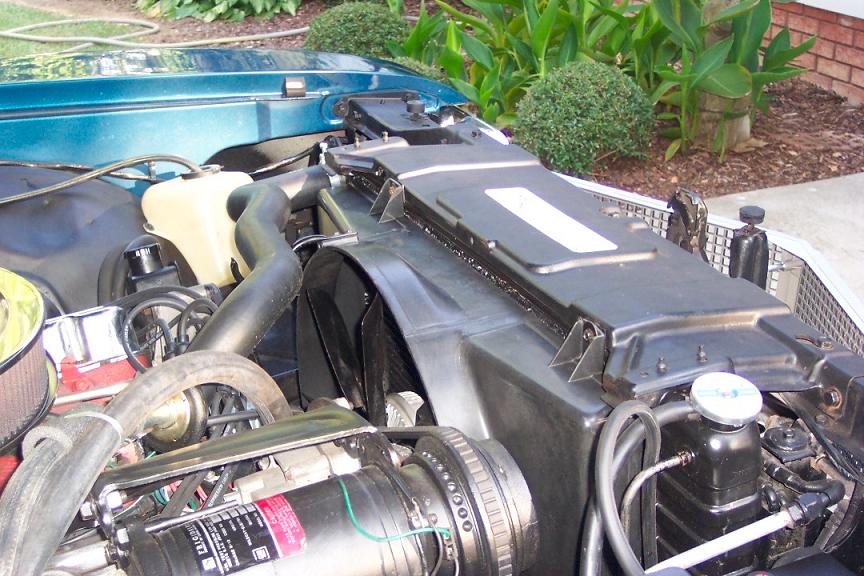 In this next picture you can see the thin plastic spacer
between the shroud and the radiator top plate.
In this next picture you can see the thin plastic spacer
between the shroud and the radiator top plate.
 I plan on filling the extra hole in the radiator top plate
and repainting it to hide the evidence...
I plan on filling the extra hole in the radiator top plate
and repainting it to hide the evidence...
And I painted that rusty bolt after seeing how awful it looked in these
pictures...
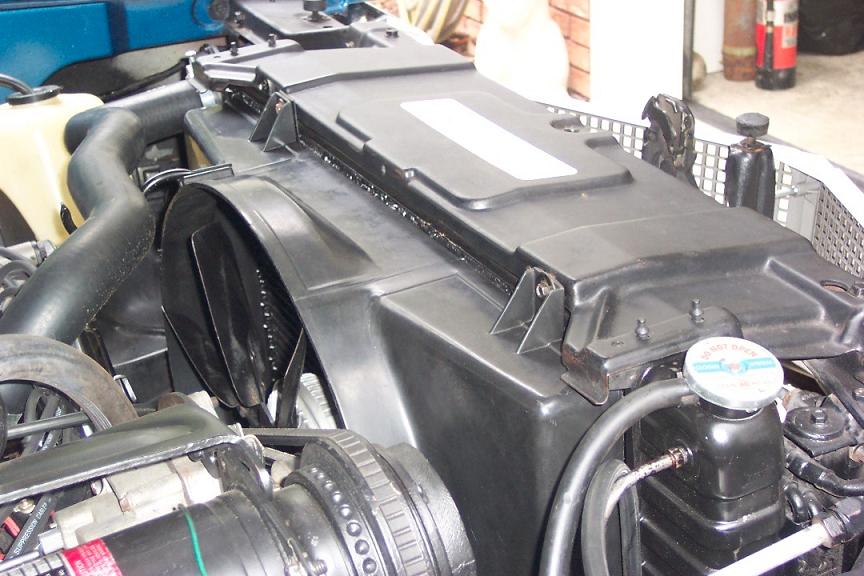 Although this modified shroud will not be acceptable on some
"show cars" it should work just fine for a driver or car that
is not shown in "judged" classes.
Although this modified shroud will not be acceptable on some
"show cars" it should work just fine for a driver or car that
is not shown in "judged" classes.
In my opinion this looks better than either of the reproduction shrouds
that are available for the 1970GS455.