Water Dripping on Your Feet? Cowl Leaks?
by George Nenadovich
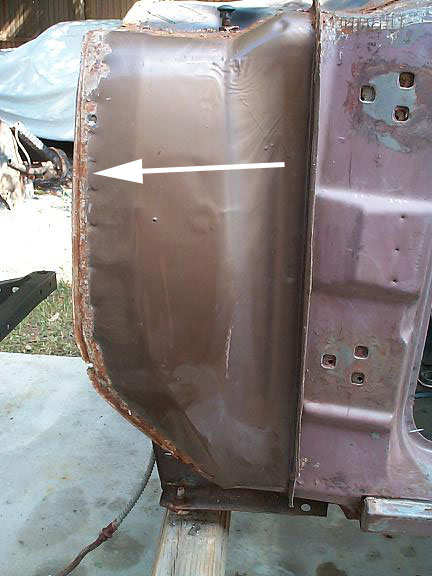
 Here is the cowl from a 70 GS455 convertible. Original "brushable"
seam sealer has dry rotted and started to fall apart. Use a small putty
knife to remove all loose material as can been seen here.
Here is the cowl from a 70 GS455 convertible. Original "brushable"
seam sealer has dry rotted and started to fall apart. Use a small putty
knife to remove all loose material as can been seen here.
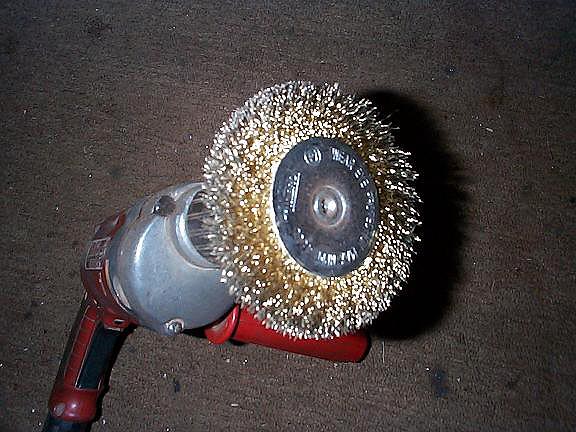 I like to use a stiff wire wheel brush on a drill motor to
remove remaining seam sealer. Black arrow indicates the area that is prone
to leaks. This lets water trickle in and usually drips from the brake pedal
or just below the steering column.
I like to use a stiff wire wheel brush on a drill motor to
remove remaining seam sealer. Black arrow indicates the area that is prone
to leaks. This lets water trickle in and usually drips from the brake pedal
or just below the steering column.
 Here is another seam that requires cleaning.
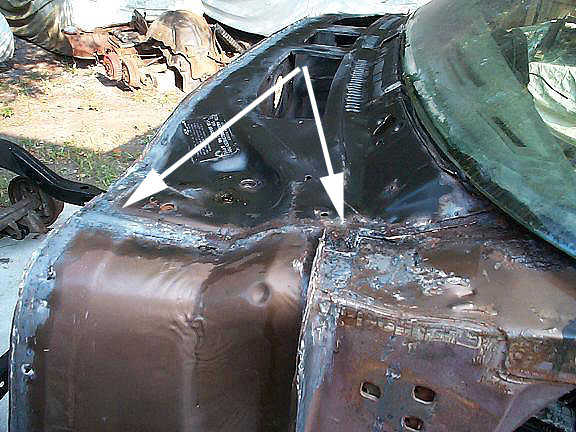
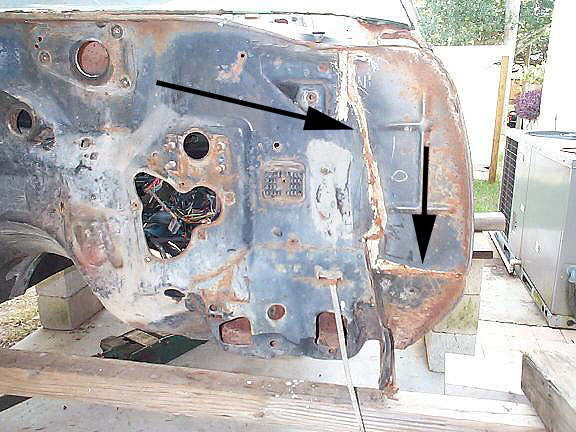 More seams(indicated by arrows) that need to be cleaned.
Also notice in this picture the surface rust. Use the wire wheel brush in
a drill motor to clean this in preparation for phosphoric acid application.
More seams(indicated by arrows) that need to be cleaned.
Also notice in this picture the surface rust. Use the wire wheel brush in
a drill motor to clean this in preparation for phosphoric acid application.
 Another seam that needs to be cleaned, on both sides.
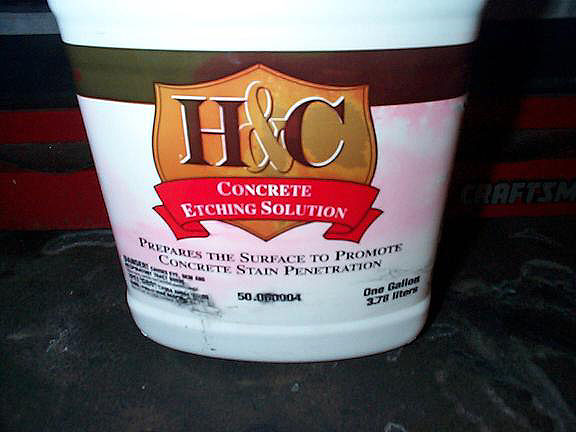
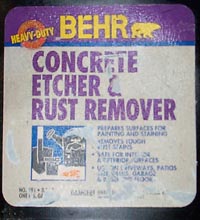 After all seams are cleaned, use phosphoric acid to treat
the rusted areas. H&C and Behr are both carried at Home Depot and cost
about $12-15/gallon.
After the phosphoric acid is cured, usually 1 day. Use a
small hand held wire brush to remove any chalky residue which is common
when phosphoric acid reacts with rusty metal.
After all seams are cleaned, use phosphoric acid to treat
the rusted areas. H&C and Behr are both carried at Home Depot and cost
about $12-15/gallon.
After the phosphoric acid is cured, usually 1 day. Use a
small hand held wire brush to remove any chalky residue which is common
when phosphoric acid reacts with rusty metal.
 Arrows indicated in top the transformation after being treated
with acid
Lower pic shows some residue from the chemical reaction that
needs to be cleaned before painting. Residue can appear as a chalky white
substance or a black ash substance. Easily removed with a handheld wire
brush.
Arrows indicated in top the transformation after being treated
with acid
Lower pic shows some residue from the chemical reaction that
needs to be cleaned before painting. Residue can appear as a chalky white
substance or a black ash substance. Easily removed with a handheld wire
brush.
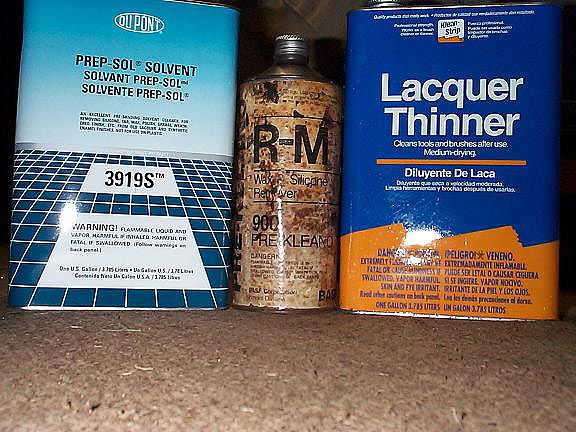 Wipe areas to be caulked with RM 900 Pre-Kleano or DuPont
Prep-Sol 3919S or Lacquer Thinner (available at Home Depot) to remove any
residue.
Wipe areas to be caulked with RM 900 Pre-Kleano or DuPont
Prep-Sol 3919S or Lacquer Thinner (available at Home Depot) to remove any
residue.
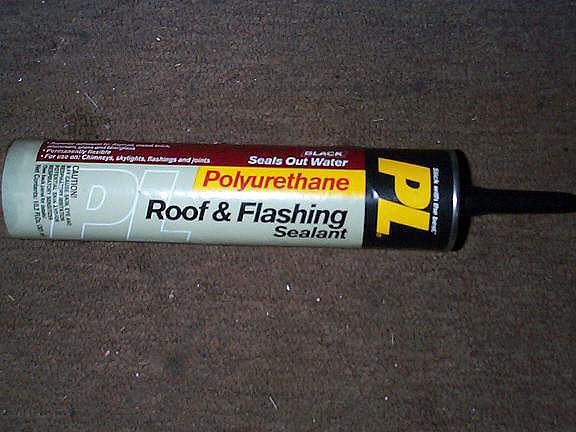 You can use the original brushable seam sealer which is white
to duplicate the original factory application. I use the Roof and Flashing
Sealant available from Home Depot (costs about $4/tube) since it is more
elastic and does not become brittle like the brushable sealer. Also, it
is black so paint covers it well and does not show thru as would white brushable
sealer.
You can use the original brushable seam sealer which is white
to duplicate the original factory application. I use the Roof and Flashing
Sealant available from Home Depot (costs about $4/tube) since it is more
elastic and does not become brittle like the brushable sealer. Also, it
is black so paint covers it well and does not show thru as would white brushable
sealer.
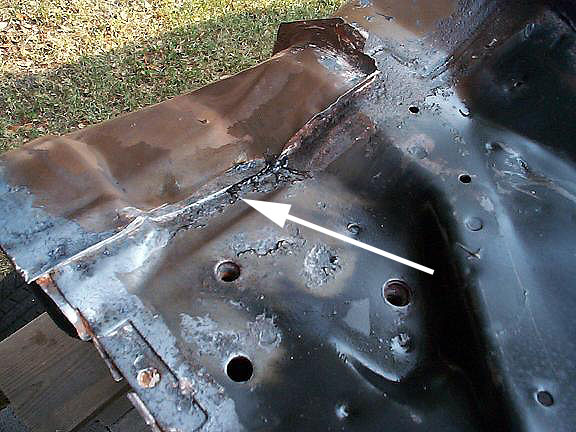
 Here is another section that needs attention. This is the
area coverd by the kickpanel. Lower arrow indicates where old seam sealer
was removed since the floor pan had to be replaced. Rest of seam will be
filled using polyurethane sealer to slightly above upper arrow.
Here is another section that needs attention. This is the
area coverd by the kickpanel. Lower arrow indicates where old seam sealer
was removed since the floor pan had to be replaced. Rest of seam will be
filled using polyurethane sealer to slightly above upper arrow.
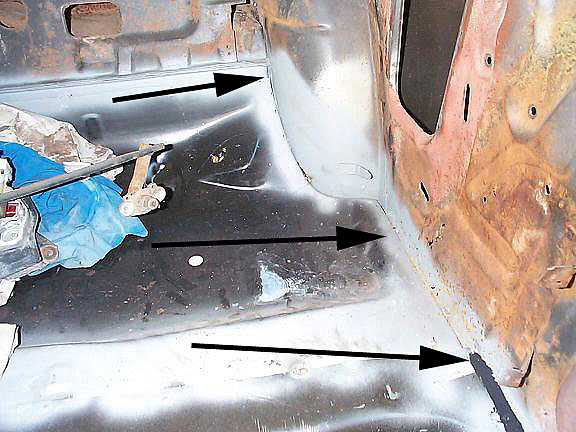 This is the rear side panel in the convertible. Lower arrow
shows where caulking stopped because I ran out of caulking. Floor pan was
replaced in this car along with pan under back seat bottom cushion. Caulking
will continue to rear inner wheel well housing and to upper arrow. After
upper arrow, will continue into top well and then into trunk area to seal
inner wheel house to trunk pan. Make sure you use rubber/latex/nitrile gloves
to prevent sealent from sticking to your fingers. Use Mineral Spirits to
clean any accidents or tools.
This is the rear side panel in the convertible. Lower arrow
shows where caulking stopped because I ran out of caulking. Floor pan was
replaced in this car along with pan under back seat bottom cushion. Caulking
will continue to rear inner wheel well housing and to upper arrow. After
upper arrow, will continue into top well and then into trunk area to seal
inner wheel house to trunk pan. Make sure you use rubber/latex/nitrile gloves
to prevent sealent from sticking to your fingers. Use Mineral Spirits to
clean any accidents or tools.
 This is the paint I get from Home Depot, Semi-Gloss black
for the cowl, engine brackets, etc.
This is the paint I get from Home Depot, Semi-Gloss black
for the cowl, engine brackets, etc.

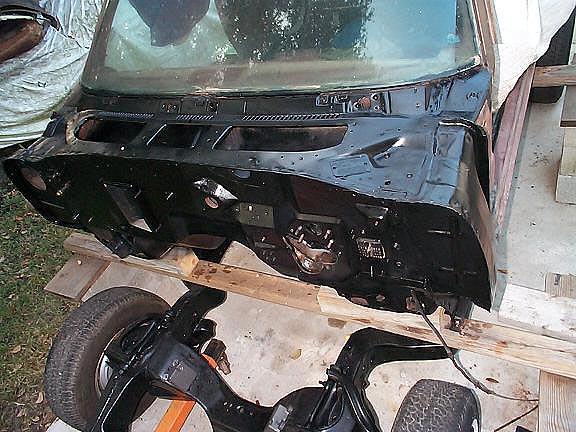
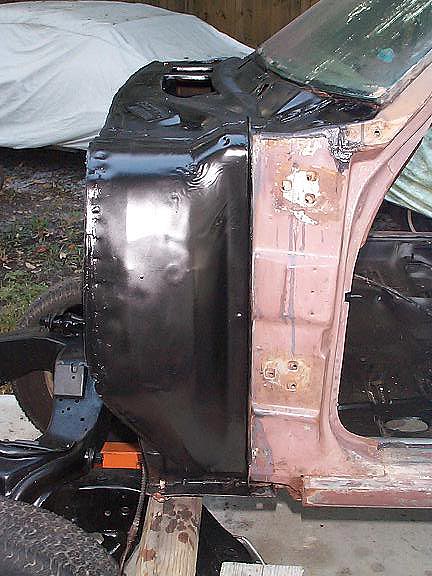 Cowl is now cleaned, sealed and painted. Side of cowl in
above pic is painted black. Factory paint color (body color) is supposed
to be there but since no one will see it, I paint the front half of the
cowl black. Right side (hinge area) will be painted body color.
Expect to take about 2 hours (does not include fender and
hood removal) to remove all old sealer, wire brush, phosphoric acid wash,
caulk and paint the firewall. Fenders will have to be removed in order to
do a proper job and ensure no future leaks. You can also use the Roof and
Flashing sealer in other areas (floor pans, trunk pans, etc) where brushable
sealer was used at the factory.
Cowl is now cleaned, sealed and painted. Side of cowl in
above pic is painted black. Factory paint color (body color) is supposed
to be there but since no one will see it, I paint the front half of the
cowl black. Right side (hinge area) will be painted body color.
Expect to take about 2 hours (does not include fender and
hood removal) to remove all old sealer, wire brush, phosphoric acid wash,
caulk and paint the firewall. Fenders will have to be removed in order to
do a proper job and ensure no future leaks. You can also use the Roof and
Flashing sealer in other areas (floor pans, trunk pans, etc) where brushable
sealer was used at the factory.