How to Fix Broken Body Mounts
by George Nenadovich
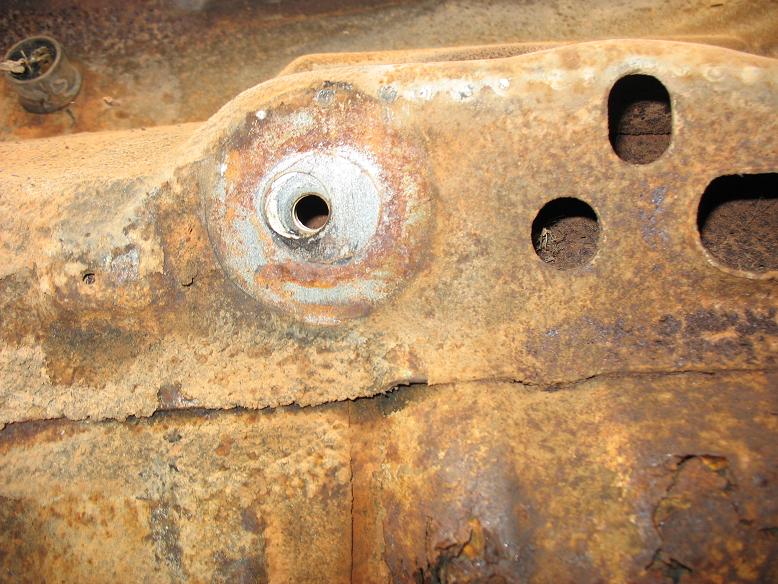 Here is a picture showing the rear most body mount. It is
a captured nut and is semi-floating.
Here is a picture showing the rear most body mount. It is
a captured nut and is semi-floating.
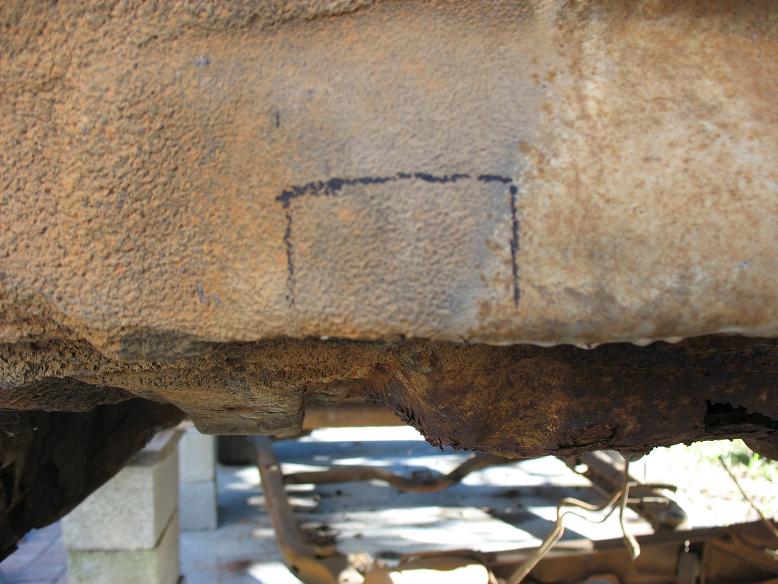 Here is the same body mount as viewed from the rear....bumper
is removed. If this mount is spinning free, use a die grinder to cut a "window"
as shown by the black line. The opening will allow you to grab the free-spinning
nut with locking pliers so you can remove the body bolt from this location.
Next, fabricate a new nut cage and weld in. Move the "window"
metal back to the original position and weld the seam closed. Use a 4"
grinder to smooth the weld.
Here is the same body mount as viewed from the rear....bumper
is removed. If this mount is spinning free, use a die grinder to cut a "window"
as shown by the black line. The opening will allow you to grab the free-spinning
nut with locking pliers so you can remove the body bolt from this location.
Next, fabricate a new nut cage and weld in. Move the "window"
metal back to the original position and weld the seam closed. Use a 4"
grinder to smooth the weld.
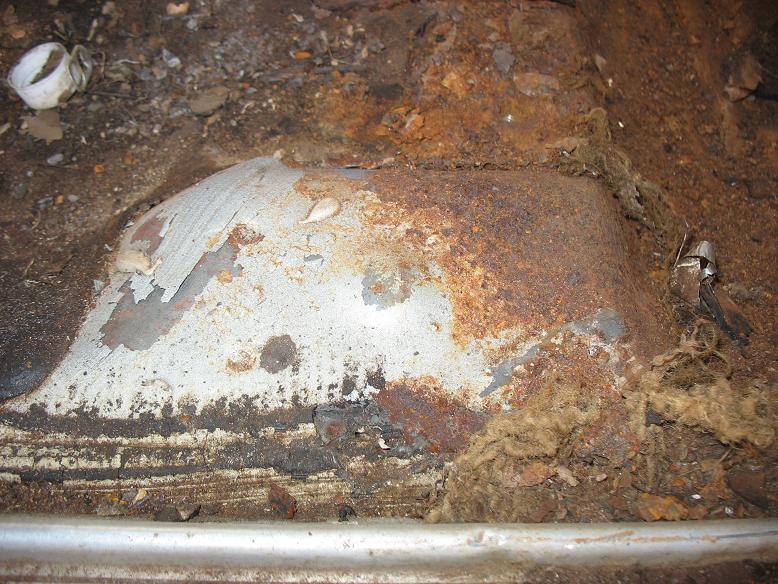 Here is the 3 body mount from the rear....there are 5 per
side for Skylark models. This mount is approximately above the middle of
the door sill. It is a small raised area.
Here is the 3 body mount from the rear....there are 5 per
side for Skylark models. This mount is approximately above the middle of
the door sill. It is a small raised area.
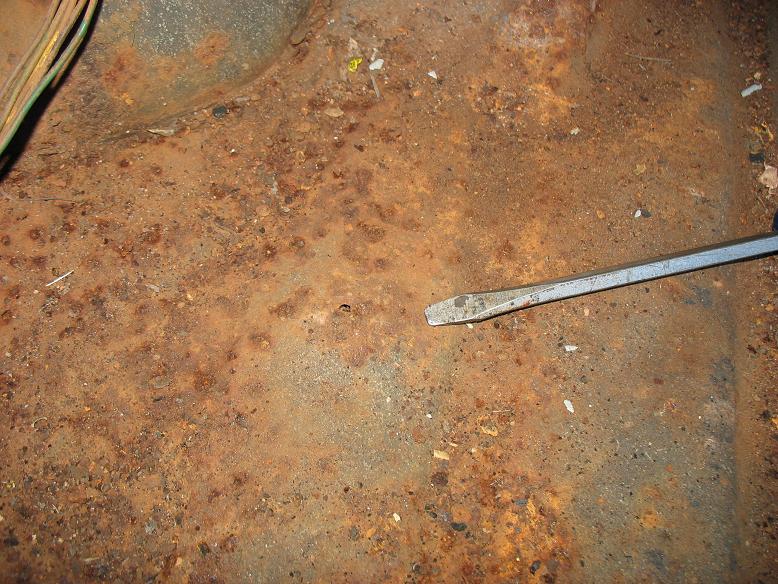
 Here is the raised area shown with a black circle. If this
bolt appears difficult to remove, do not force it. Drill a small hole, approx
1/8" diameter and spray some penetrating oil on the bolt threads. Attempt
to remove the bolt after the oil has had some time to work.
Here is the raised area shown with a black circle. If this
bolt appears difficult to remove, do not force it. Drill a small hole, approx
1/8" diameter and spray some penetrating oil on the bolt threads. Attempt
to remove the bolt after the oil has had some time to work.
 This is the second body mount from the back. It is just behind
the rear wheel well in the trunk. This nut was spinning free due to the
capture cage breaking loose when the bolt was being unscrewed. I had to
cut open the trunk floor to access the nut and hold it in place while my
assistant removed the bolt from below. The opening is sloppy since the trunk
pan on this car is going to be replaced.
This is the second body mount from the back. It is just behind
the rear wheel well in the trunk. This nut was spinning free due to the
capture cage breaking loose when the bolt was being unscrewed. I had to
cut open the trunk floor to access the nut and hold it in place while my
assistant removed the bolt from below. The opening is sloppy since the trunk
pan on this car is going to be replaced.
 Here is the driver's side second from rear body mount. Notice
the small hole at the top of the dome....used to spray penetrating oil on
the bolt threads.
New body mount nuts w/cages are available as reproductions
from www.ss396.com
BCN716
For $6.95 each
Here is the driver's side second from rear body mount. Notice
the small hole at the top of the dome....used to spray penetrating oil on
the bolt threads.
New body mount nuts w/cages are available as reproductions
from www.ss396.com
BCN716
For $6.95 each